How to install 3 popular NoSQL databases for development in MacOSX for newbies Part 2
In this post we will install on our local MacOSX (Yosemite) environment, another famous NoSQL database, the Apache Cassandra. As a developer, I found Datastax, community packaging of Cassandra, very handy, seems they offer ready made MacOSX specific packages.
You can of course download and install the the tarballs f rom Apache or use their virtual box images, offered in the site.
We will be downloading Datastax Community Cassandra edition from here. The current version is 2.1.2, after downloading the tar.gz file, I will be extracting it, to a folder similar to the previous post of MongoDB. So my cassandra installation will be under
\home\work\dsc-cassandra-2.1.2
Eventually that is all about (I assume you already have Java/JDK installed on your MacOSX). If not please check this post.
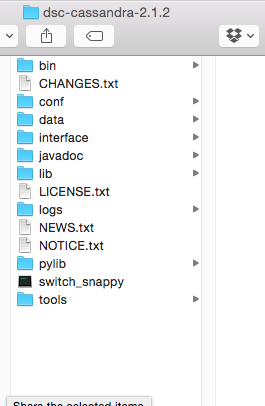
Your Cassandra folder should like the image below:
In order to start your test Cassandra cluster and nodes, just type the following
> cd \home\work\dsc-cassandra-2.2.1\bin\(or whatever is your path)
> ./cassandra -f
The -f switch will start the process in the foreground, so it would be easier for starters to shutdown the process by pressing Ctrl +C .
If you omit the -f, the process will start by default in the background and in order to stop you need to use the kill command and search for the process. More info here.
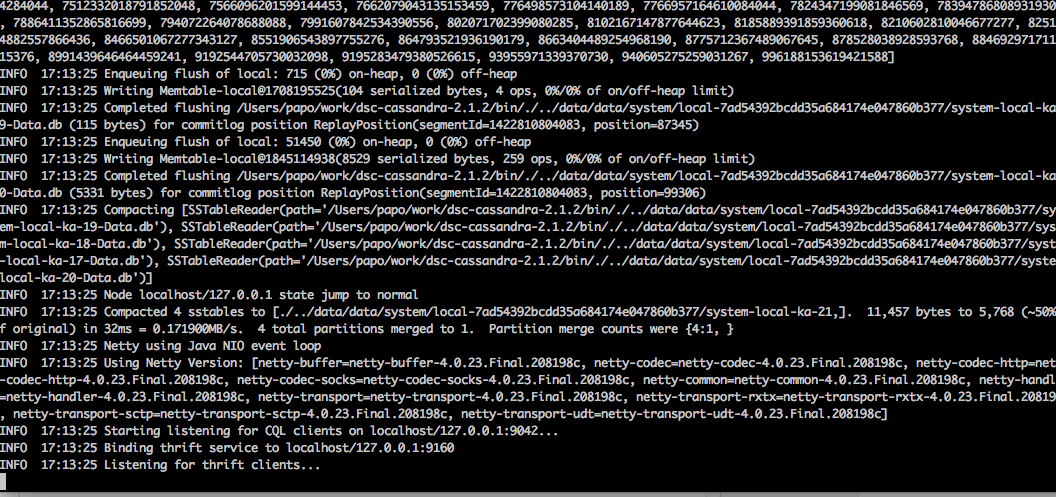
Well this is it, easy enough. When your cluster starts you should see something like the image below in your command line window.
What about a gui client for starters?
Well, Datastax offers a very handy client called DevCenter.
Download the MacOSX, tar.gz, and extract it to a folder similar to the one, we extracted cassandra.
\home\work\Deventer\
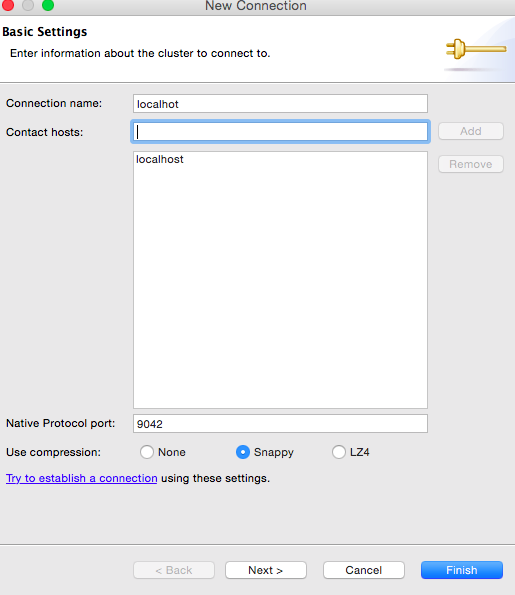
Double click on the DevCenter.app. It is actually a tool based on Eclipse. Create a new connection as shown in the image below.
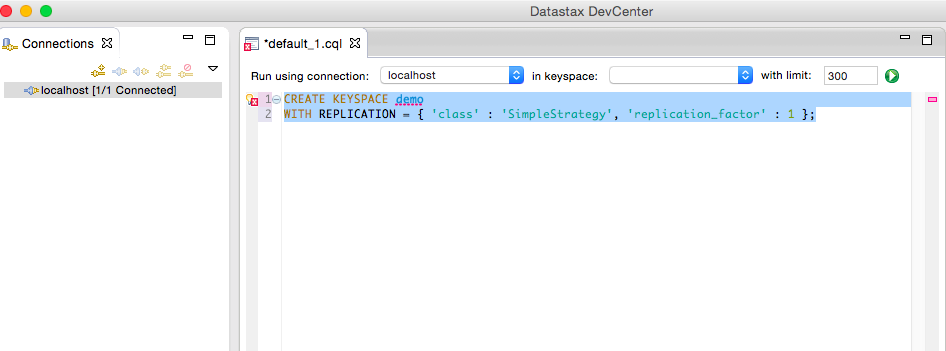
You can play around and create a DEMO keyspace as shown below.
You can find a very simple intro post here.
Easy!