Setup your Java development environment in your new Mac in 10 minutes (updated) (java, ant, maven, gradle)
setup #mac #java
Step 1: Download the packages
Eventually if you already have typed java in your terminal, the system might have already prompted you and installed this one for you, if not download it.
Apache Ant (at the time being 1.9.2)
Apache Maven (at the time being 3.3.x)
Gradle (at the time being 1.10)
Step 2: Install or extract the packages
The Java 6 and Java 7,8 downloads are in a dmg form so you just double click them and install them, the setup wizard is fairly easy. Nothing extra or magic required.
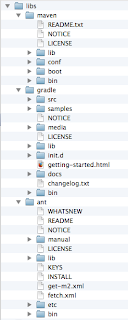
For the Ant, Maven and Gradle packages you need to extract them at a folder of your choice, it is really up to you. So unzip them and if you like rename the unzipped folders, giving them a simple name. My path of choice was ** /Volumes/secondary/libs**
So I extracted and renamed them as follows:
1- /Volumes/secondary/libs/ant
2- /Volumes/secondary/libs/maven
3- /Volumes/secondary/libs/gradle
Step 3: Modify your .profile
Open up your terminal navigate to your home profile, usually when you open app the application is already on your home folder if not just to it cd /Users/your_user_name, for me it is /Users/papo
and type
vi .bash_profile
This will open the vi editor. All you need to do is copy paste the following entries, MAKING SURE that the paths are correct for you. I assume that you already know the basic vi modes (Esc+i=insert mode, Esc+w=write mode, Esc+q=quit).
Save your .bash_profile and exit the terminal. Open a new One in order for the changes to take effect.
Done
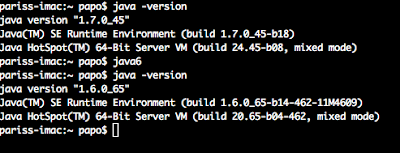
Now you can test your new path environment, type java -version to check that indeed java 7 is the one loaded currently or type java6 so that Java 6 becomes active.
Type ant -version, mvn -version or gradle to check that the tools are available from your command line.

You are done. If you are looking for a nice Java IDE to start coding then head for Eclipse and Netbeans. The latter is more suitable for junior programmers. Both of them are very very powerful and they provide rich functionality.
Happy coding.